This is an archive page for the 2021 COMICS WORKSHOP residency @ Indian River School.
Special thanks to CHILDREN’S LITERACY FOUNDATION.
JUMP TO: / DAY 1: Grade 5 / Grade 6 / / DAY 2 / / DAY 3
PREP LINKS:
BEFORE YOUR COMICS WORKSHOP
Videos & other stuff to get you ready to draw!
Recommended Tools & Materials
We’ll create comics with basic tools: Pencil, paper, pen, marker…
GRADE 5 / DAY 1
BLOB CHARACTER WARM-UP:
Hutchins & DeWolfe:


Rissala:

Hurley:

Stone:

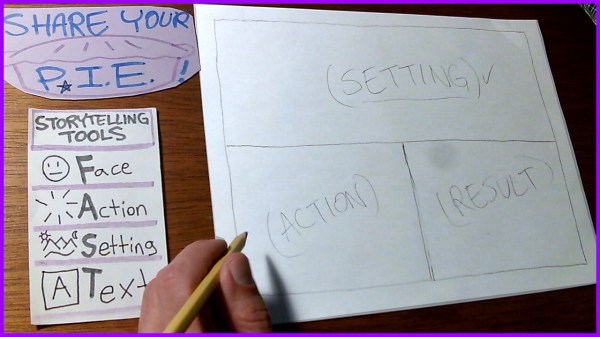
SETTING+ACTION+RESULT 3-Panel Page Template:
GRADE 6 / DAY 1
BLOB CHARACTER WARM-UP:
Dunkerton:

Follensbee:

Hazelton:

Labore:


SETTING+ACTION+RESULT 3-Panel Page Template:
ALSO: Old Comics!
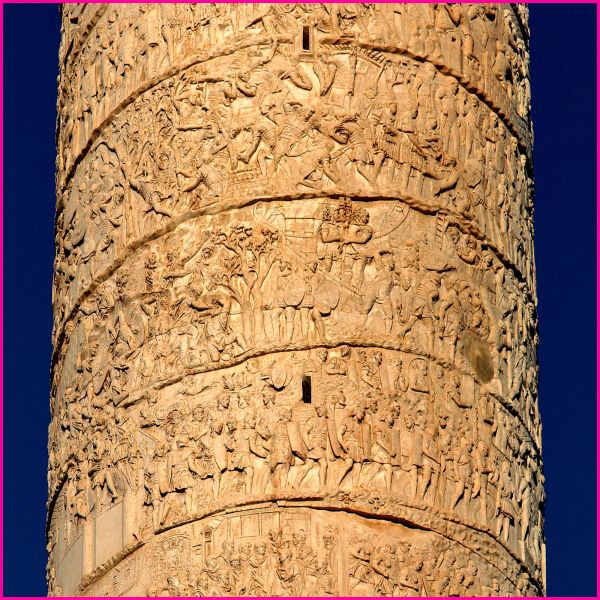
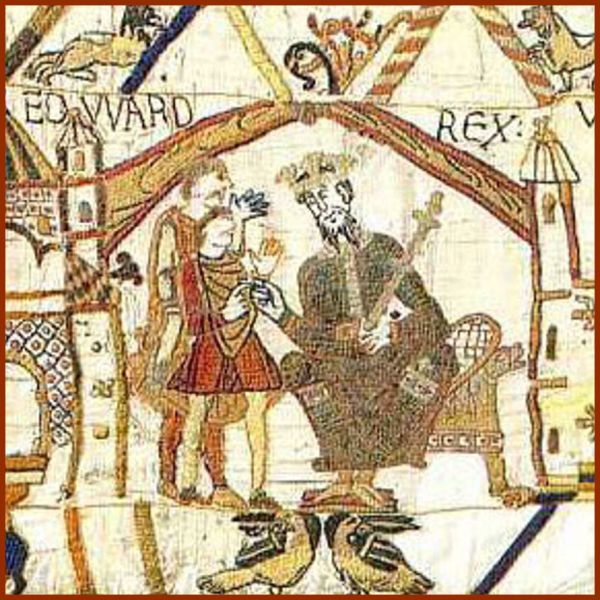
In one of our classes today, I mentioned some 1,000+ year old comics with NO panels borders (at least not penciled rectangular boxes). But then we didn’t have time to share them at the end of class!
So, below are a couple ancient “comics” (narratives w/ multiple images in sequence). They actually DO have panels… sort of. See if you can tell how they work (reading direction, changes of scene, etc.).
DAY 2 (12+13 Oct.)
Setting Up a BLANK 1-Sheet Mini:
Print directions:

Folding a Printed 1-Sheet Mini:

DEMO MINI: “Black-Capped Chickadee” 1-Sheet
Printable PDF >>
Folding Instructions PDF (prints 4 to a sheet)
“GROW, MONSTER, GROW!” Comics Project Template:

COMICS CAMP 2020 LIVE: “Grow, Monster, Grow!”
Here’s what it looks like when some friends get together in the Comics Camp studio & grow monsters!
LIFE CYCLE Comics Project Template:

Non-Fiction Comics Project Template (PRINTABLE PDF >>):


DEMO MINI: “Magnet Migrants” 1-Sheet
(This doesn’t follow the template exactly, but it’s a similar approach.)
DAY 3 (19+20 Oct.)
Today, we focus on conferencing with test-readers, & “fixing up” our minis… Creating comics takes a lot of careful work, especially after we’ve made our initial artwork & we’re ready to revise & edit.
Here’s how I’m editing MY latest project, based on student comments & feedback.
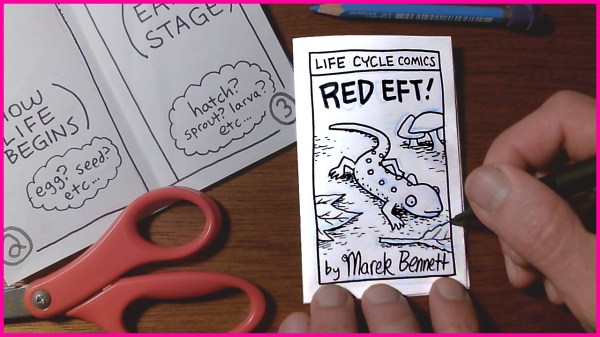
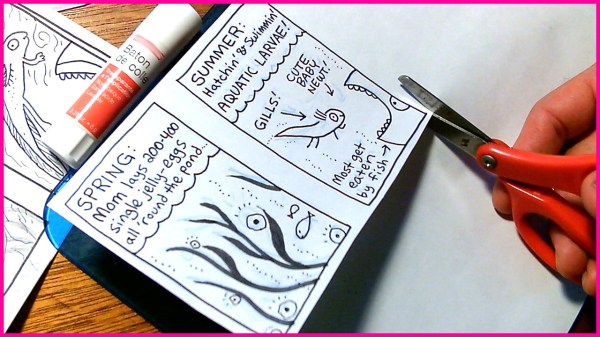
Marek’s RED EFT Mini:
NOTE: I’ve inked my draft pages here, to make them more readable on the webcam. Normally I’d conference BEFORE inking.
First, we read my Outside Front Cover together, & that worked pretty well. That is to say, the test readers saw pretty much what I hoped they’d see in the text & the artwork:
Then, however, things got interesting. My readers read aloud from my p.2-3 in a different way than I’d expected. If you look closely, you’ll see my little pencil notes in the margins; I’ve added yellow labels to help explain these edits:

Since there are SO MANY fixes to make here, I think I’ll get a better result by starting over again with both pages! This is called REVISING — It’s a process of completely re-thinking (re-visualizing) a page or pages.
Here I am penciling a new draft of p.2-3 on some scrap paper:

As I ink these new draft pages, I’m trying to keep them super-simple & super-clear:

Cutting out & pasting in the new draft pages (right on top of the first drafts in the booklet):
P.2+3 = ready to read —
THANKS TO MY TEST-READERS & FELLOW ARTISTS!:

