A few guidelines for taking quick, usable snapshots of your artwork…
“SNAPSHOTS” are quick, informal images meant to share your artwork (in-progress or finished) for onscreen use. They have a smaller filesize, & are NOT “print quality”…
The notes below are for taking SNAPSHOTS of your artwork to share electronically:
NOTE: For print quality images, you’ll have to SCAN YOUR ARTWORK on a scanner & process it digitally (grayscale or RBG / 300+ dpi / JPG, GIF, TIF)… I’ll post some notes about that process ASAP!
POSITIONING: I usually stand over my artwork & take a photo DIRECTLY DOWNWARDS toward the table top.
LIGHTING: Make sure there is plenty of INDIRECT NATURAL LIGHT, w/ no shadows cast on the artwork!
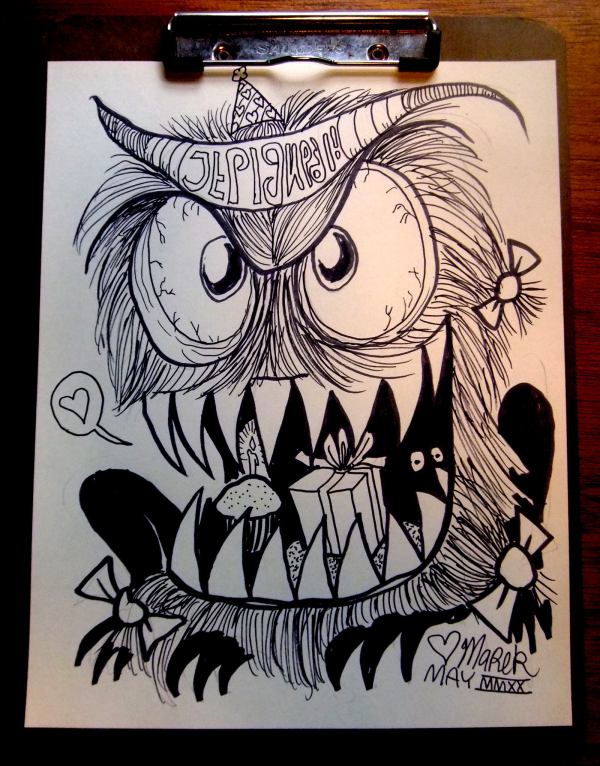
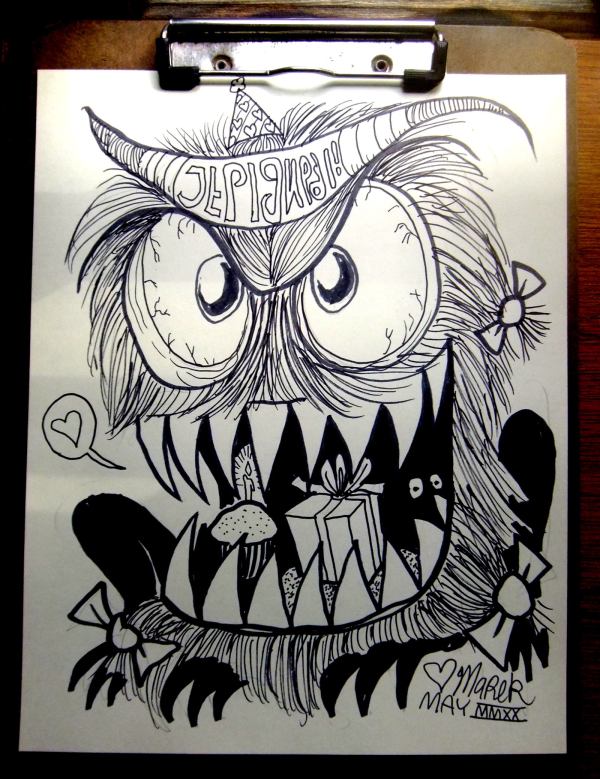
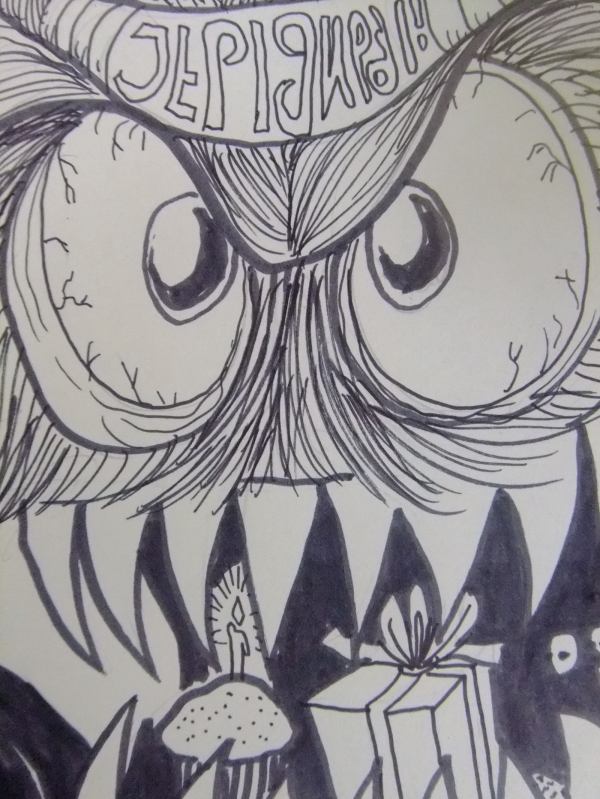
This example (RIGHT) is a color JPG, taken from right above the page, in good light (see below).


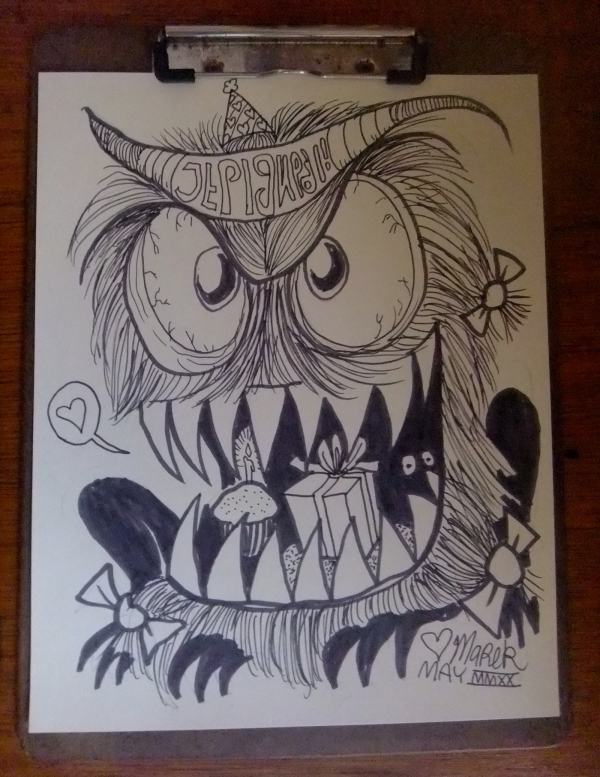
PROCESSING: Then I process the photo digitally to be high-contrast grayscale (LEFT) or, for printing, “1-bit” (a.k.a. pure black & white) (RIGHT).

Some DOs and DON’Ts:
DO: Use natural, indirect light
Indirect sunlight is even & clear — Set your page close to a window, so the whole page is gently illuminated.
DON’T: Put your page in direct Sunlight
= too much light & shadow in the photo!

DON’T: Not enough light / too much shadow
= dark photo!
DON’T: Move!
Hold still when taking your photo! This can be tricky — Here are some tips:
- Hold your breath as you click!
- If possible, prop your camera/hand against something solid (table, wall, desk, &c.)
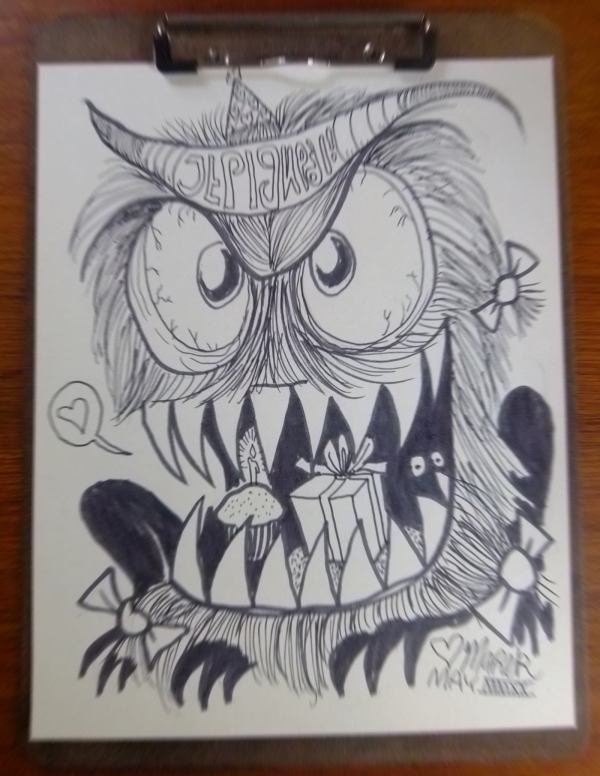
(Slightly blurred)

DON’T: Get too close!
You want your ENTIRE PAGE in the photo, with some space around the edges.

DON’T: Camera casting shadow!
If the light source is BEHIND your camera/arm, you’ll cast a shadow on your own artwork = dark photo!