TEMPLATES
This simple 3-panel page is one of my favorite ways to jump-start a longer story…
SET UP:
Set up margins:
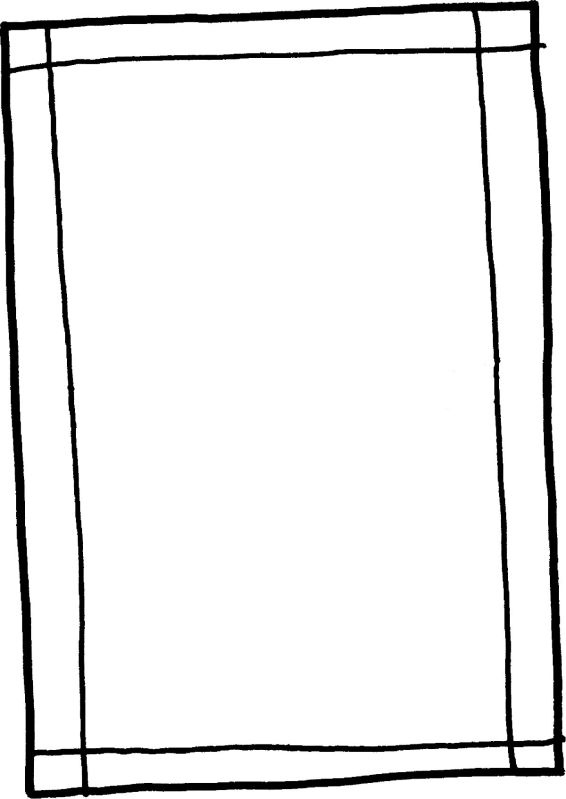
+ halfline (top / bottom):

+ halfline (bottom quarters):

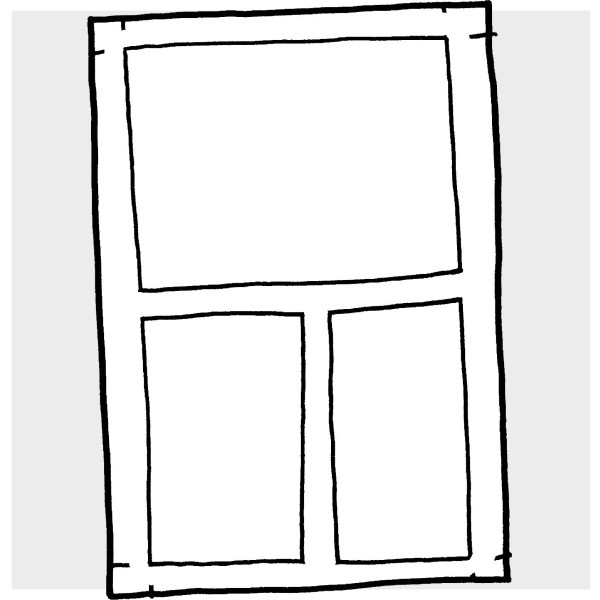
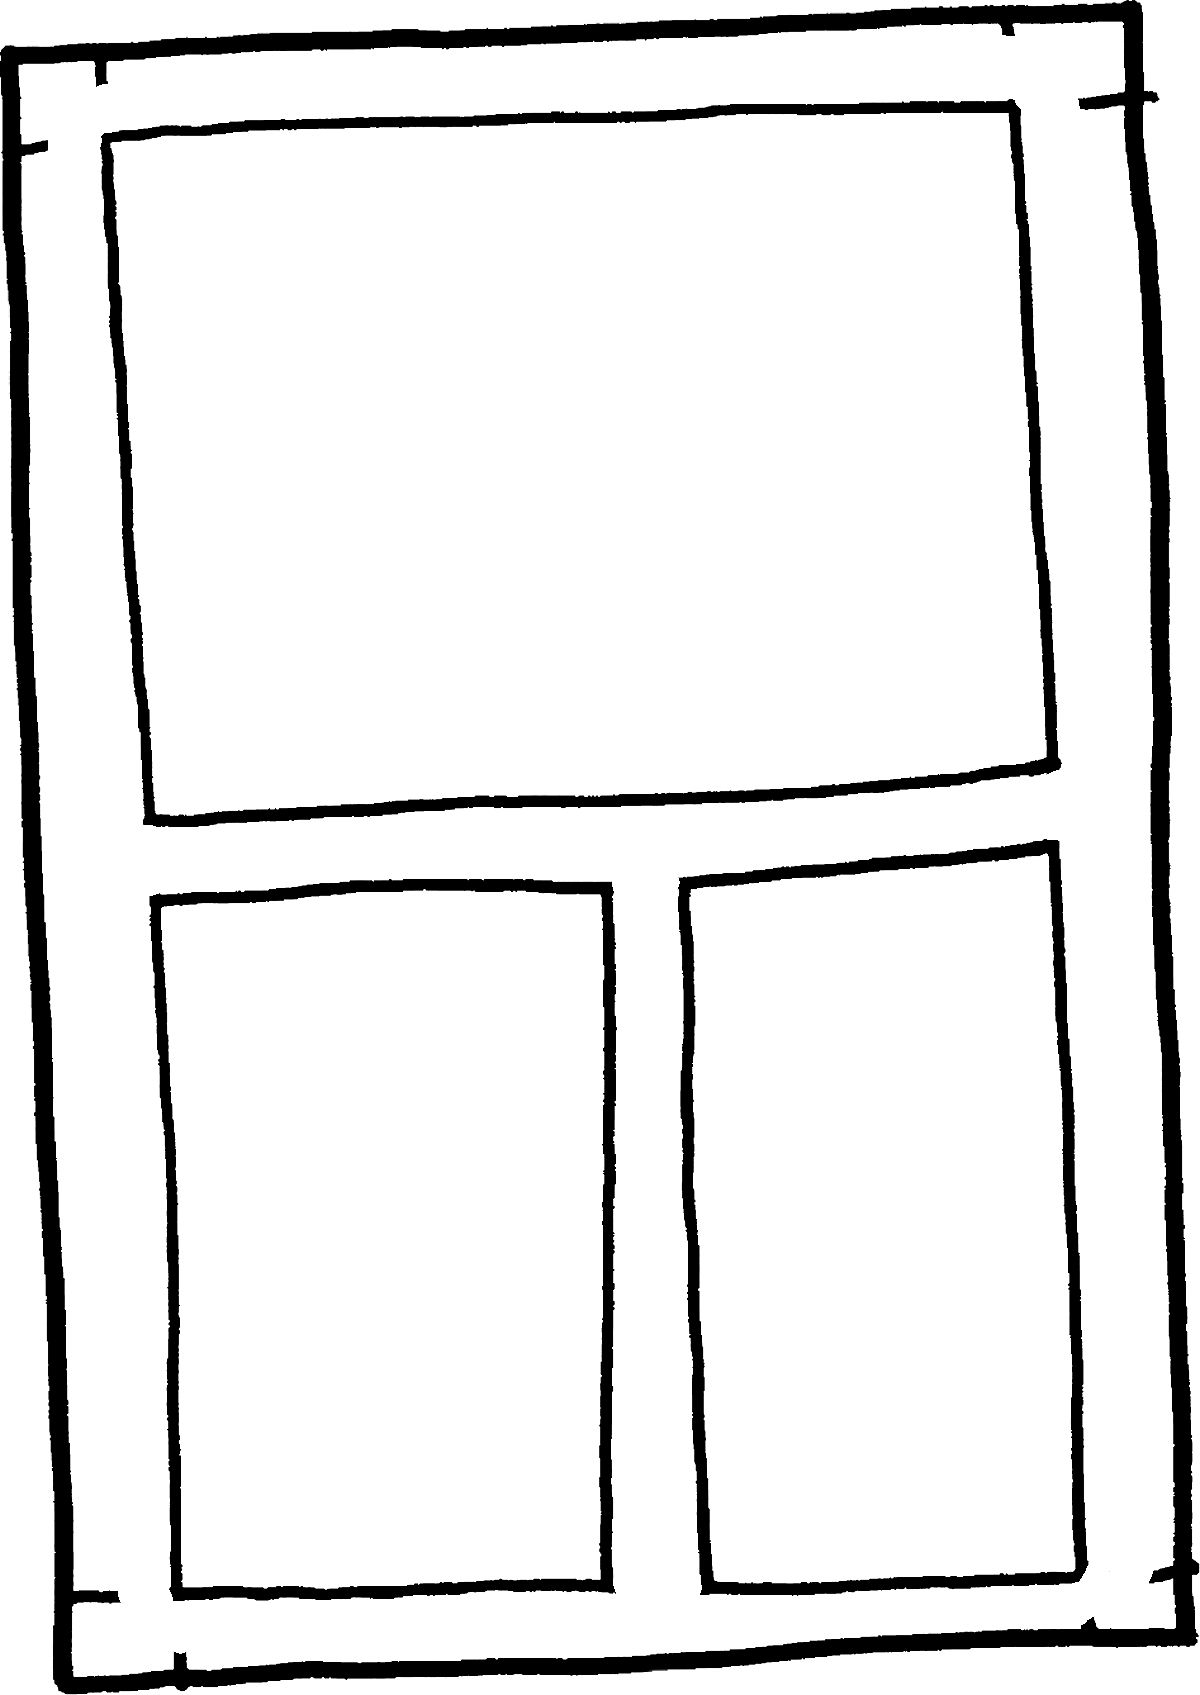
That’s a basic “BIG+SMALL-SMALL” page… ☝
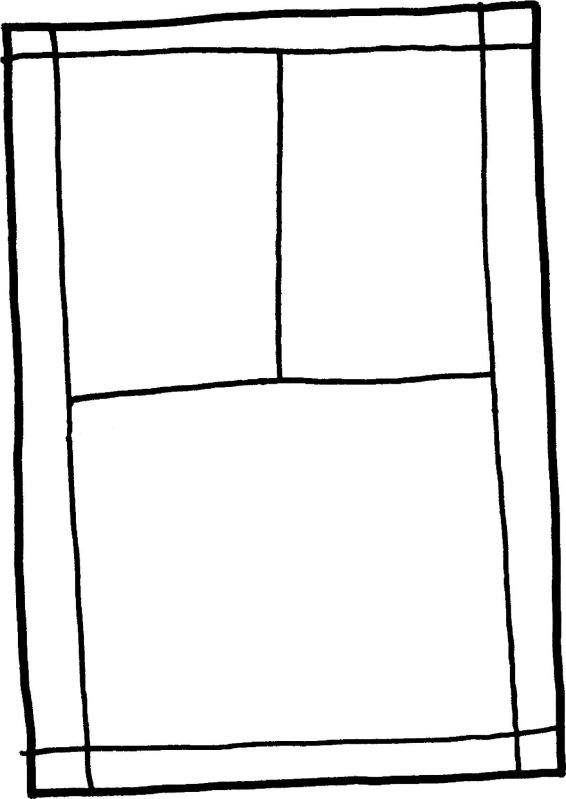
You can also flip this page around to get:
“SMALL-SMALL+BIG ENDING.” 👉
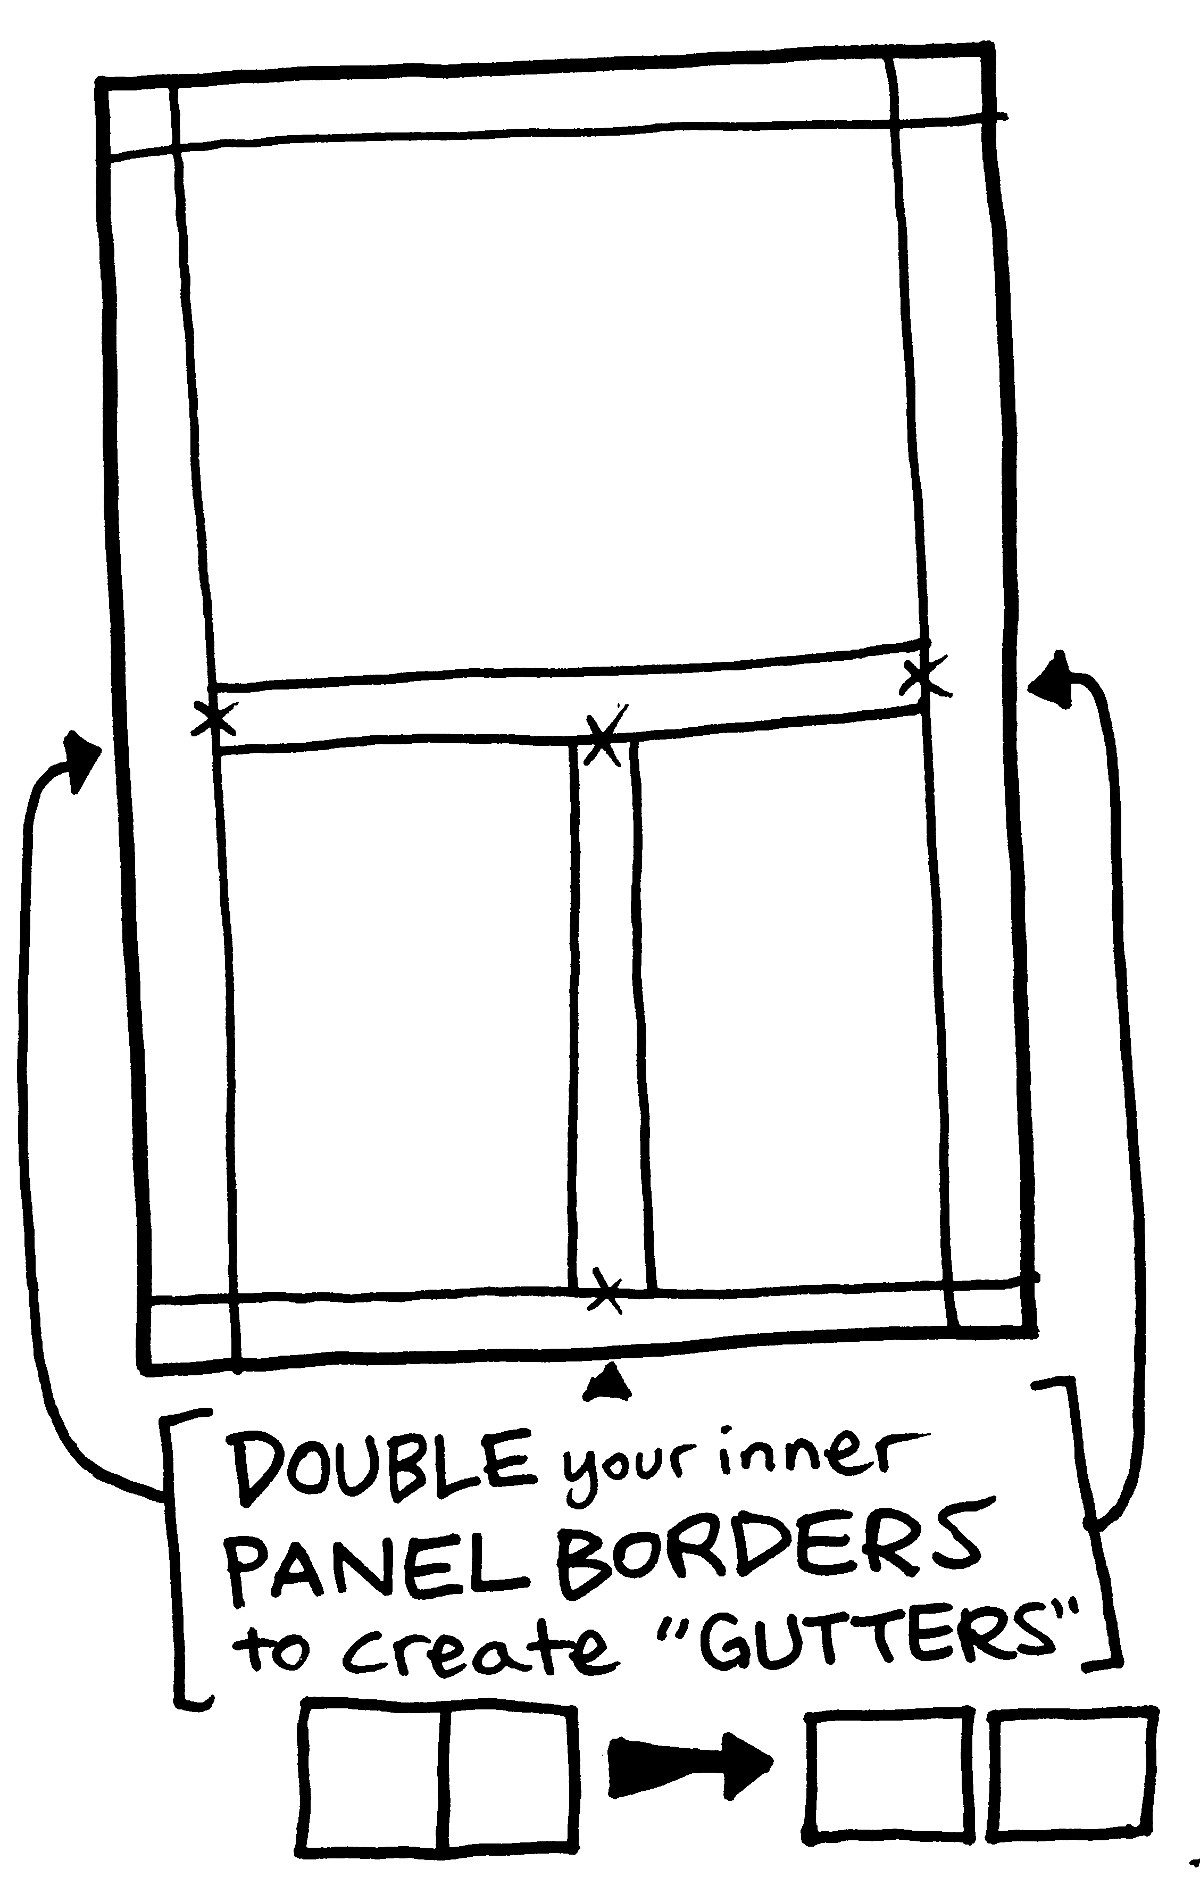
OPTIONAL: “GUTTERS”!
SUGGESTED APPROACHES:
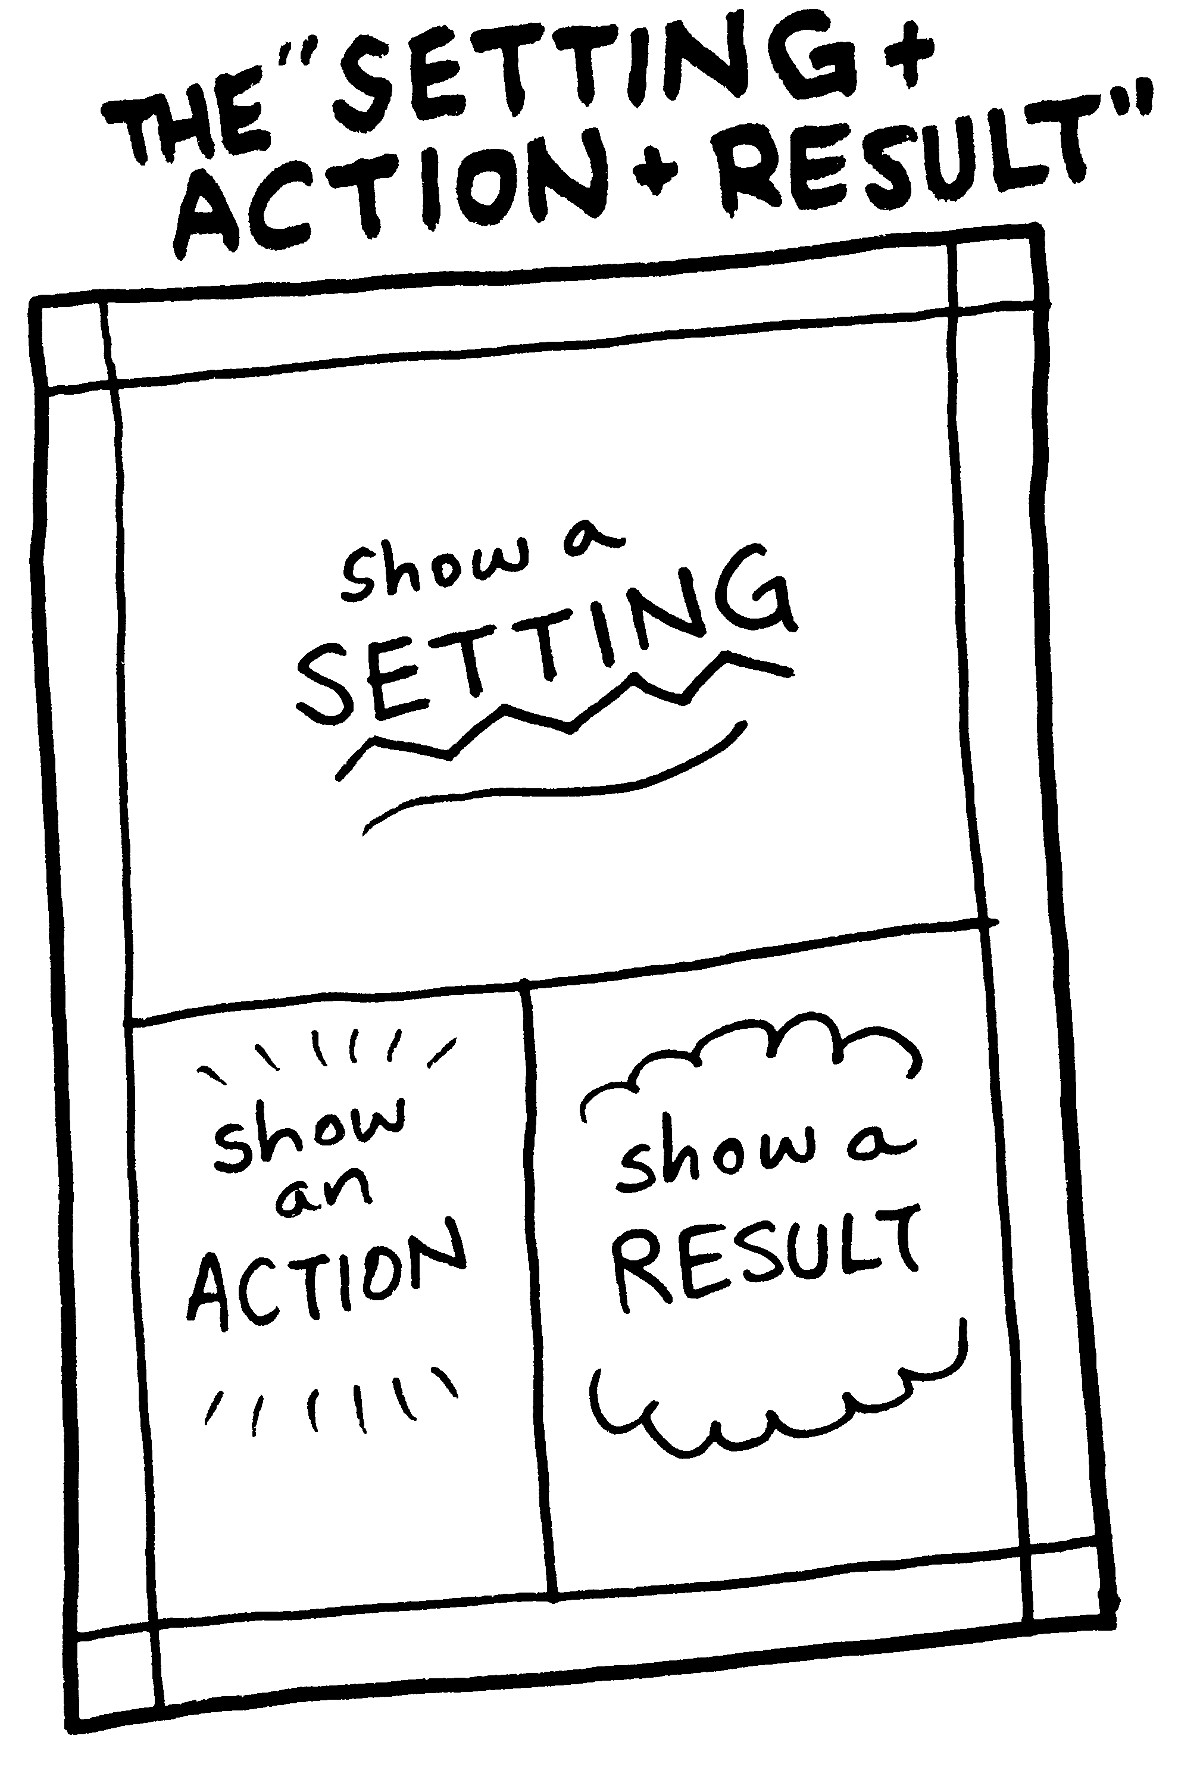
“SETTING+ACTION+RESULT”
- PANEL 1 (big) = Focus on the story’s SETTING.
- PANEL 2 (small)= Focus on an ACTION performed by a character.
- PANEL 3 (small) = Show the RESULT of that action.
EXAMPLES:
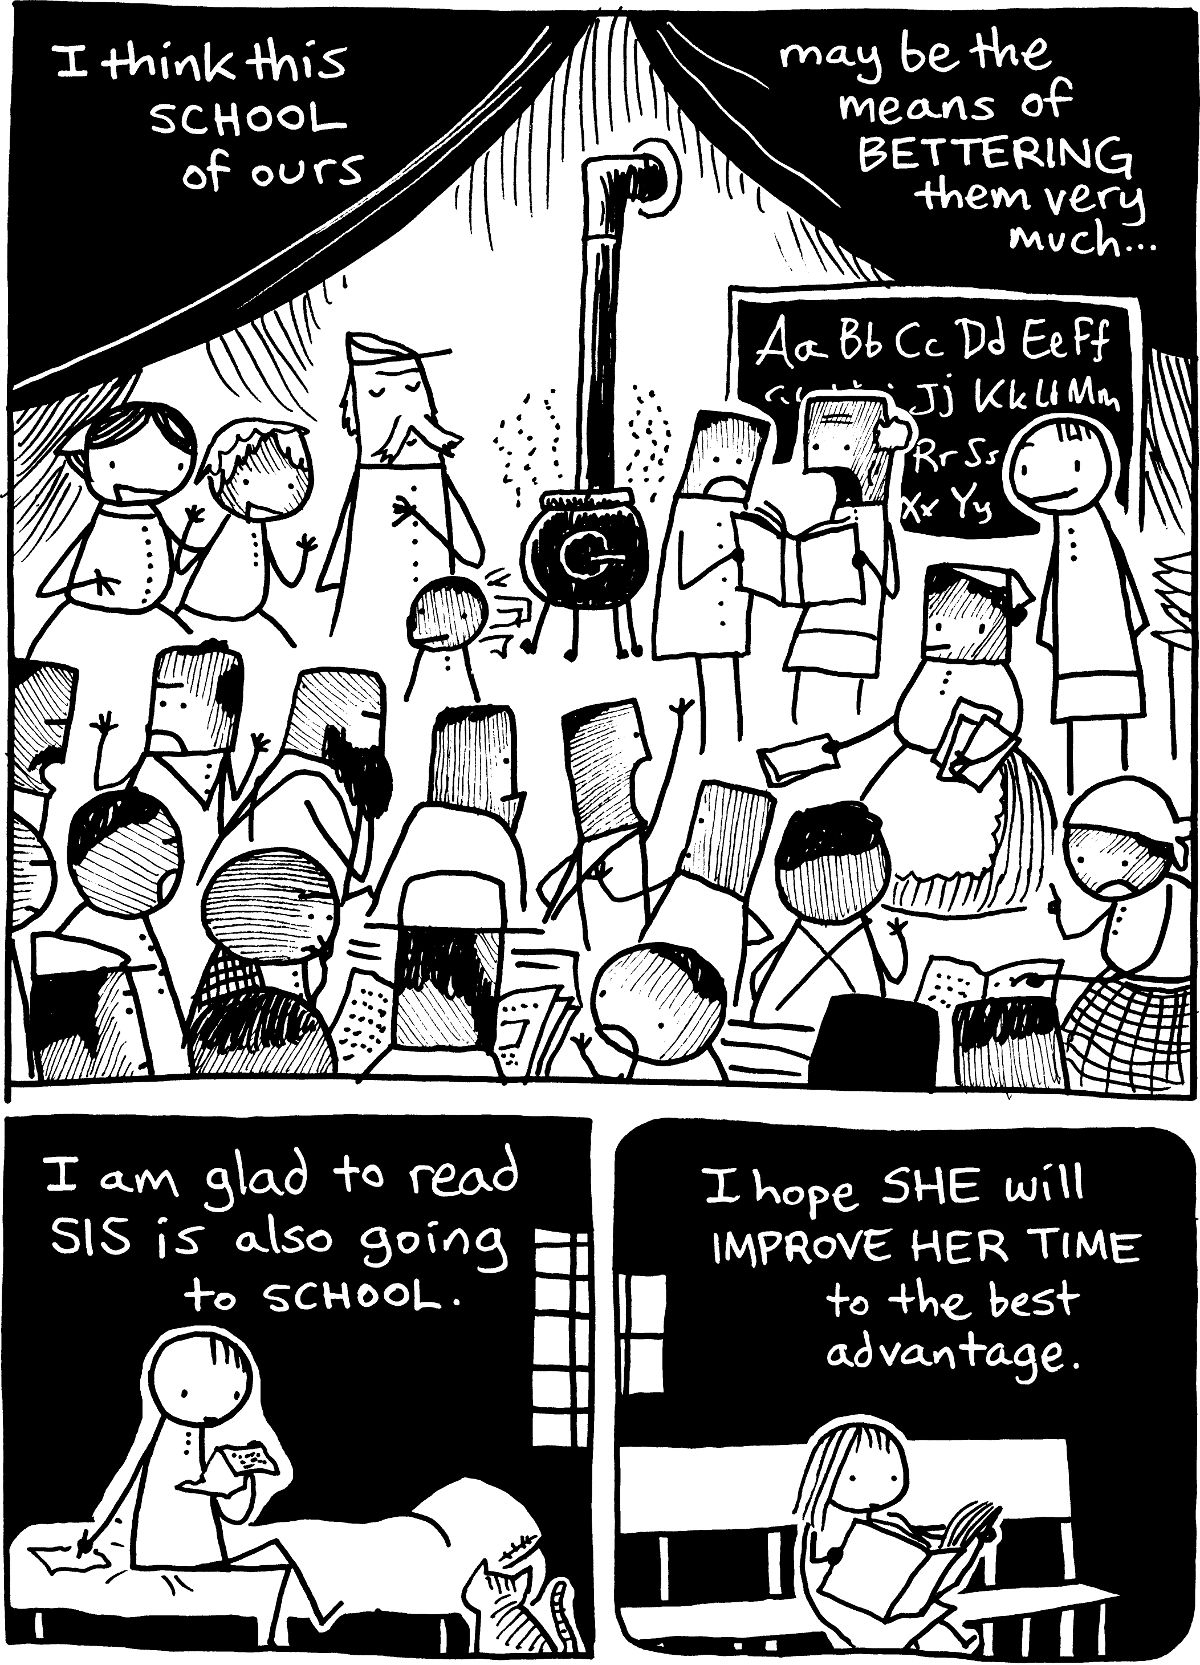
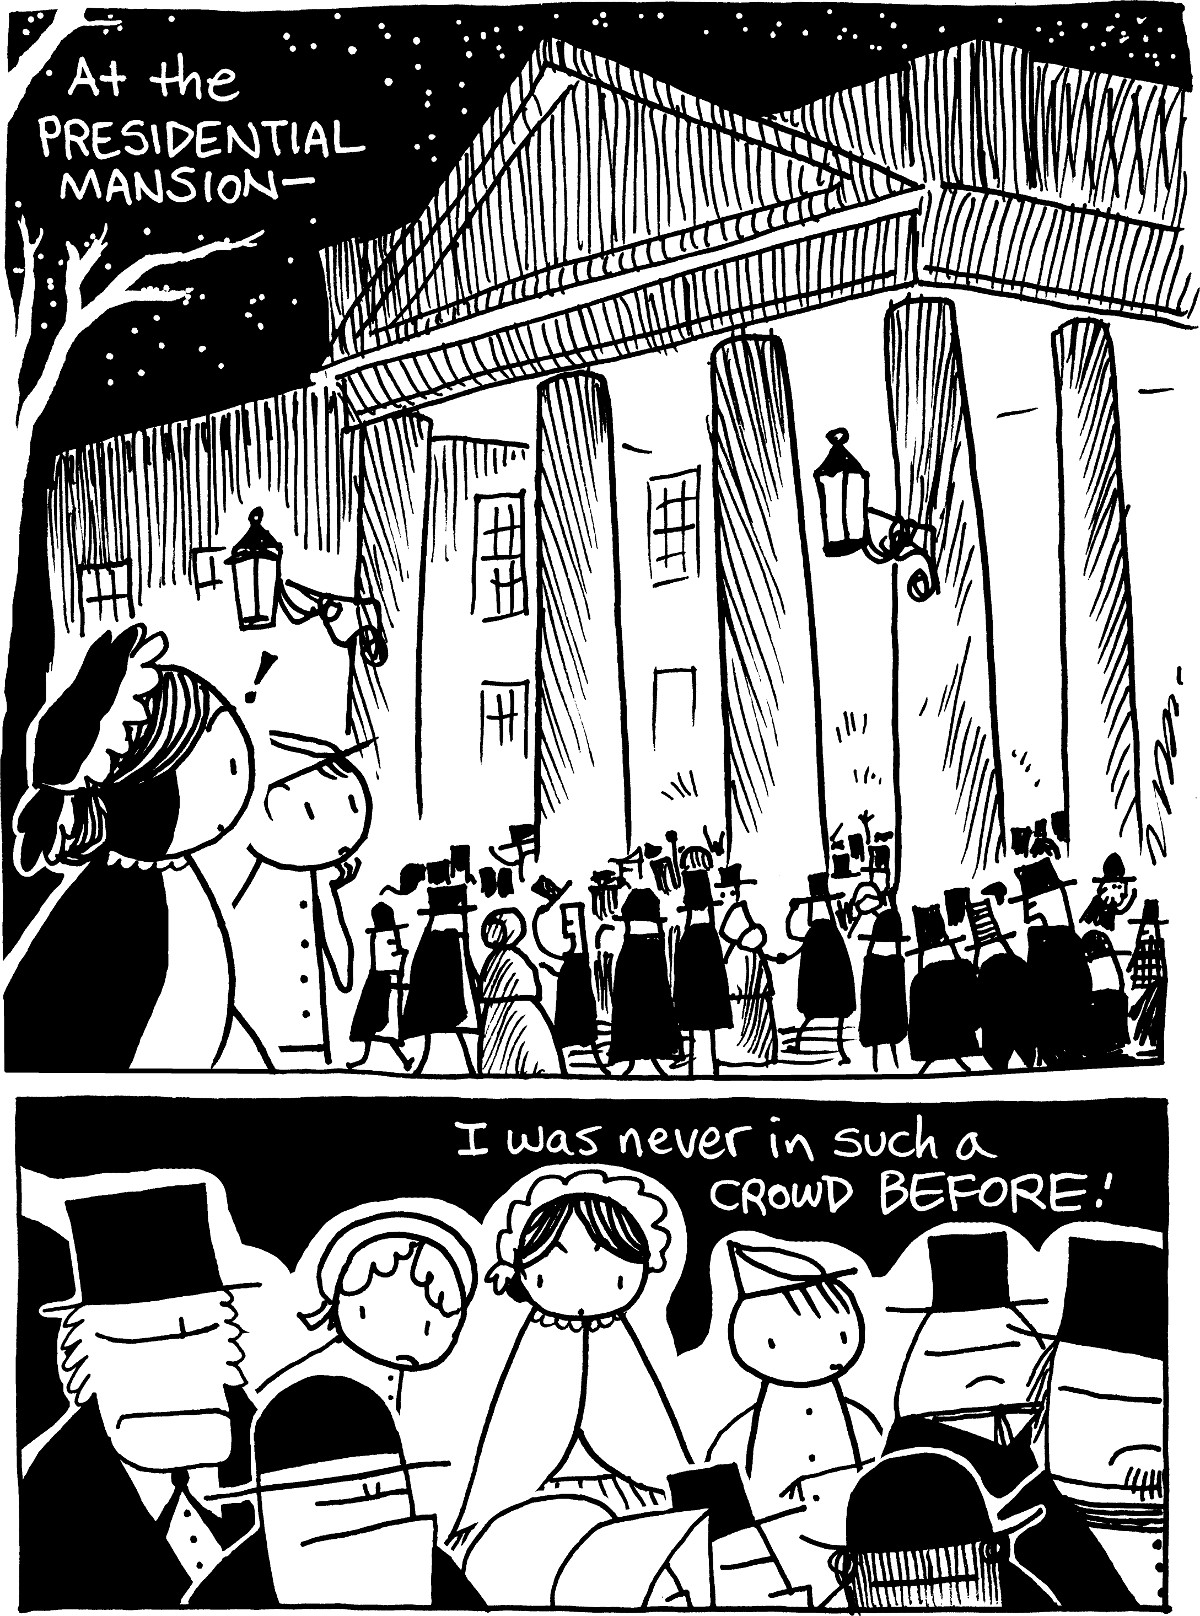
You might find this “SETTING FIRST” approach on many pages in my Freeman Colby series — Here are a few sample pages from Volume 3:


“DETAIL+DETAIL=COMBO”:
Flipping the S+A+R layout on its head, we get an approach common in manga:
- PANEL 1 (small) = Show a detail.
- PANEL 2 (small) = Show a different detail… (seemingly unrelated?)
- PANEL 3 (big) = Reveal how those details relate, or what connects them…

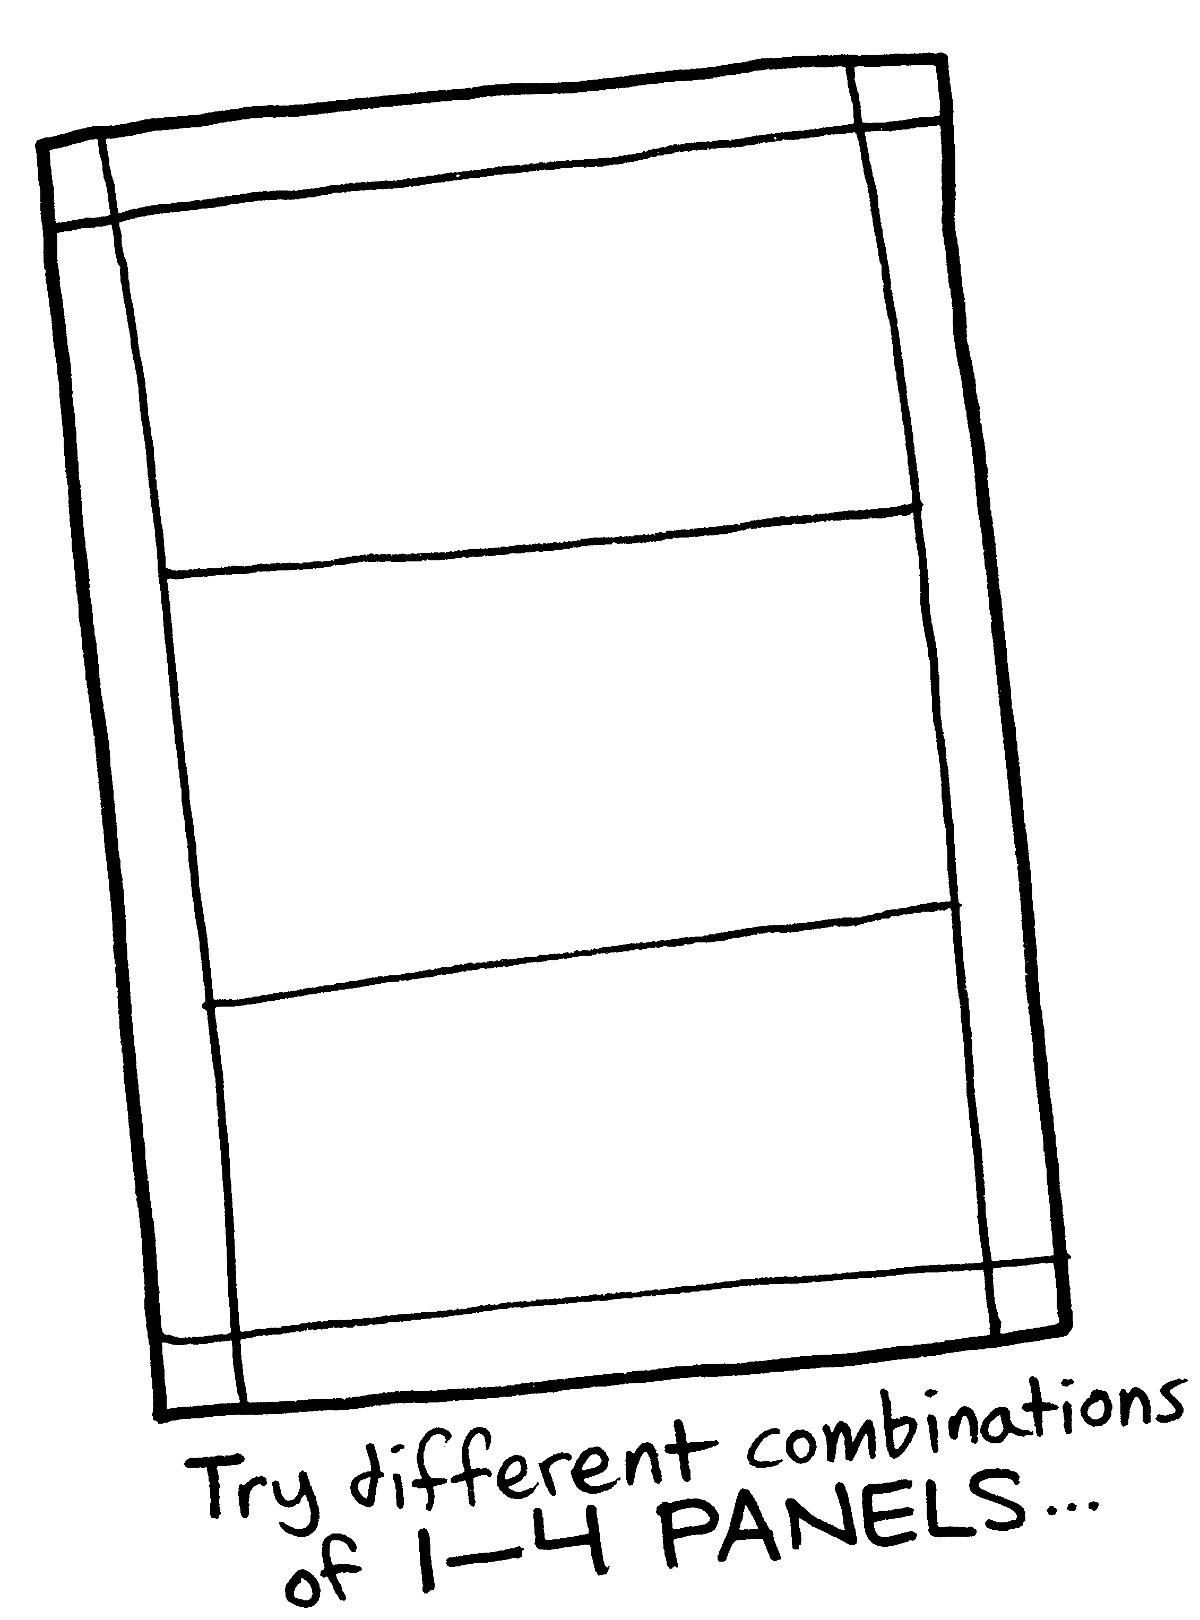
How many different 3-4 panel layouts can you design?
Be sure to test them out on as many readers as possible… Which layouts are the most readable?
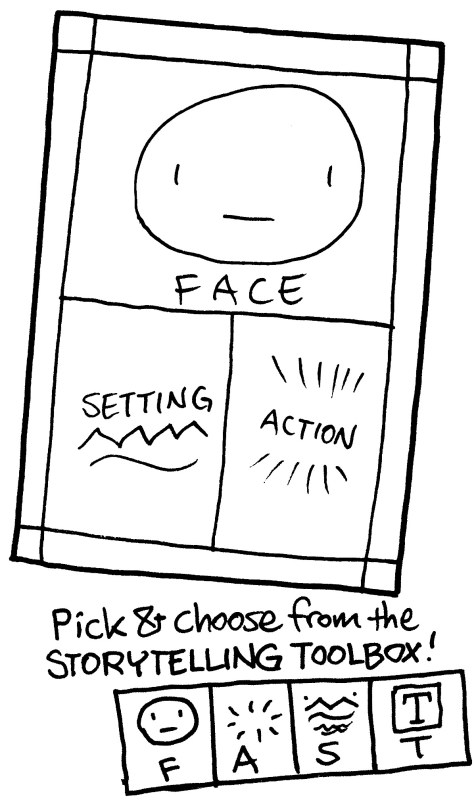
You can also use the F.A.S.T. Toolbox to make your pages interesting…
- Try focusing EACH PANEL on a single tool.
- Try combining 2 tools in a single panel.
- Try NOT USING one of the tools for an entire comic. How does that affect the story?
ALSO SEE:
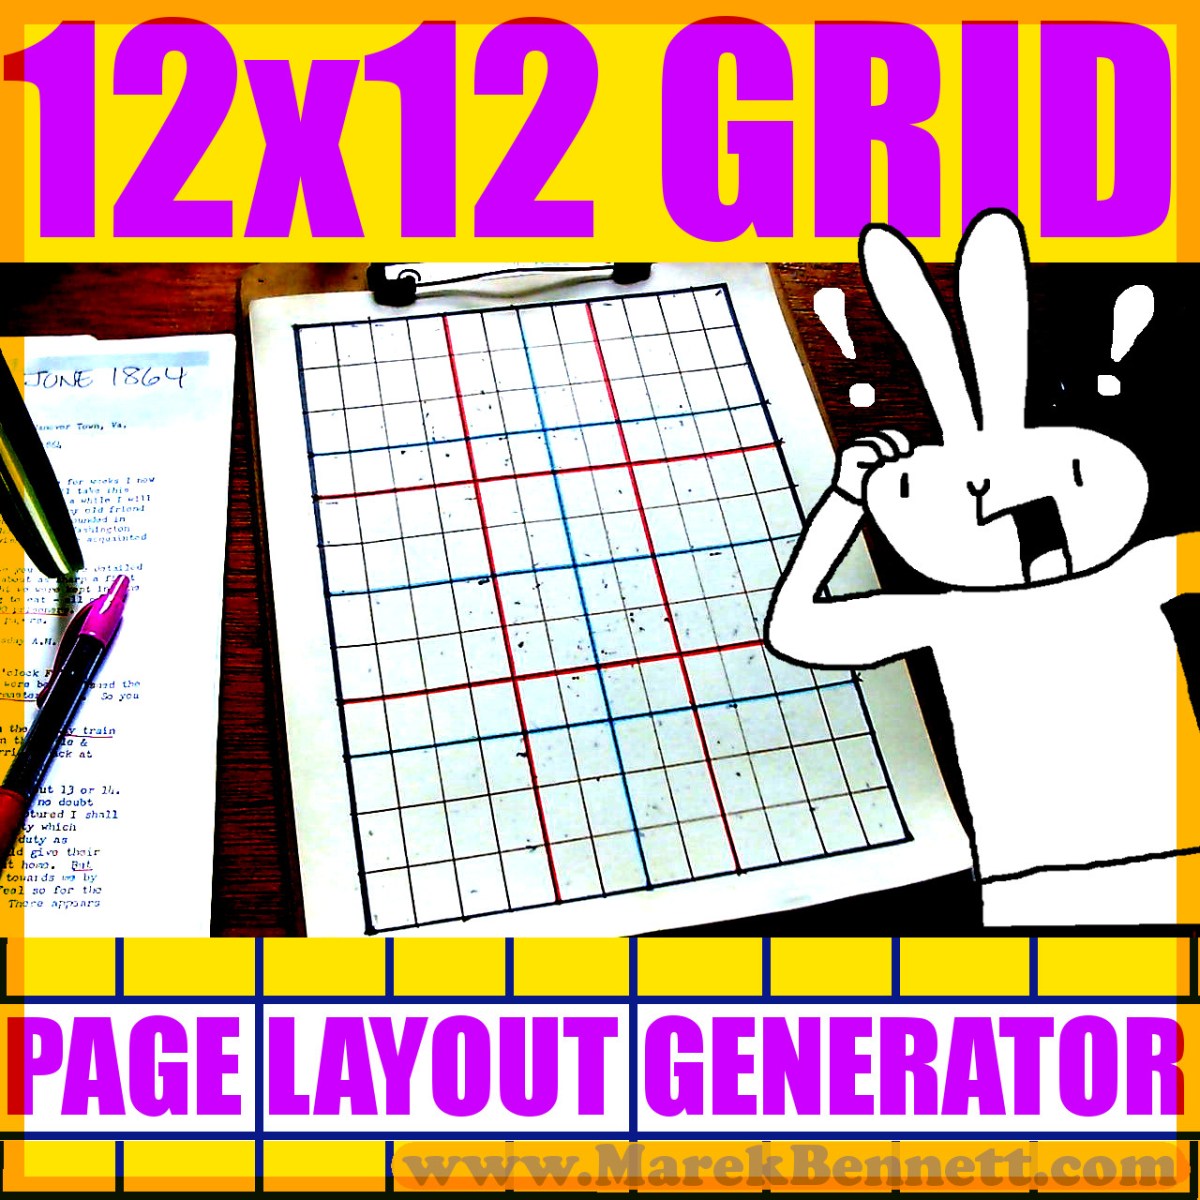
12×12 Layout Grid
= The top-secret guide I use to design EVERY PAGE of my graphic novels!
Discover more from http://www.MarekBennett.com
Subscribe to get the latest posts sent to your email.
